
.
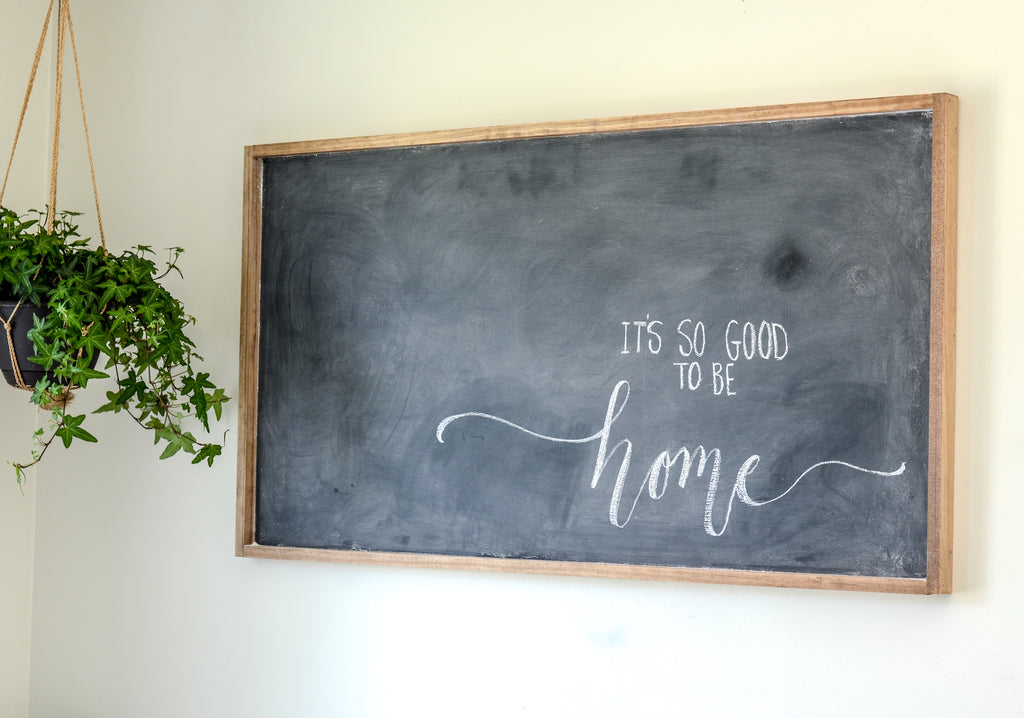
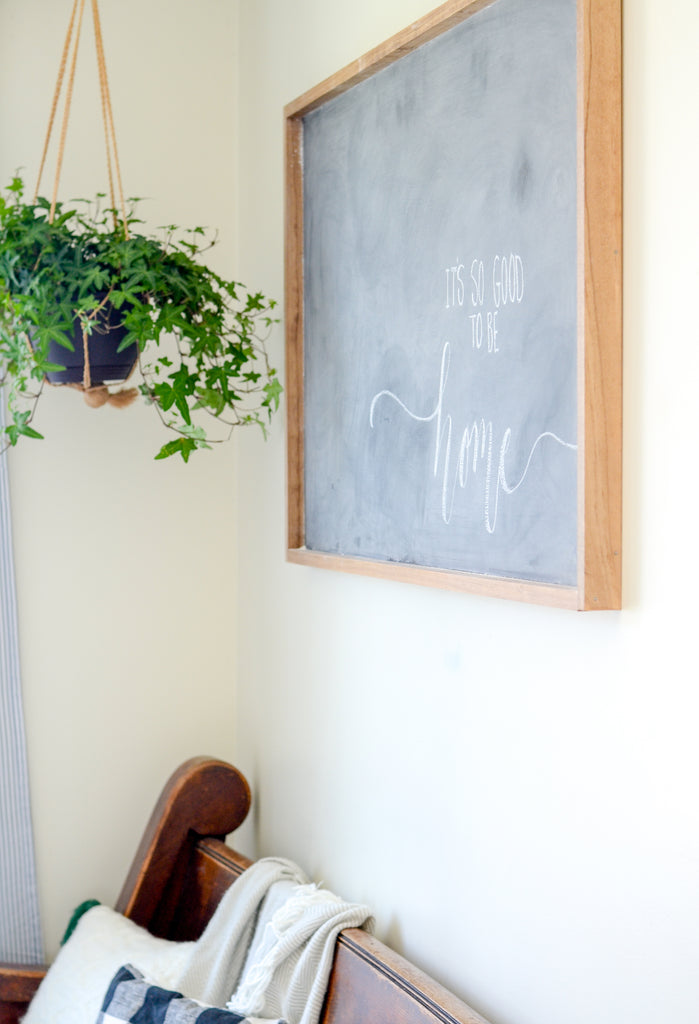
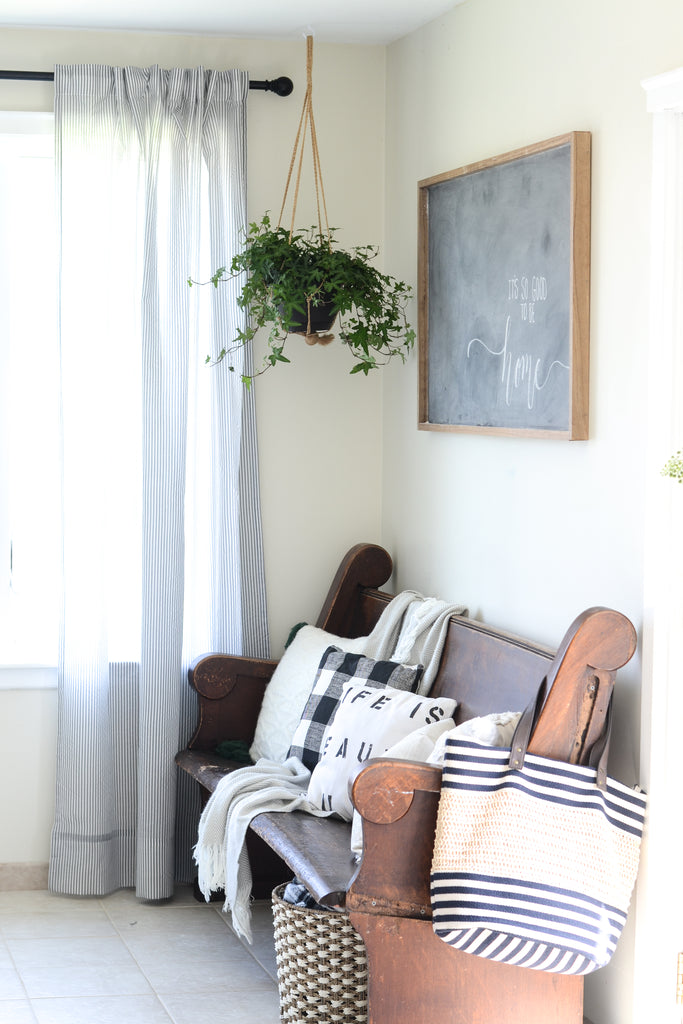
I created a large chalkboard for our mudroom and thought I'd show you the process! It is fairly big at 2' x 4' and really was very simple and affordable to create. I spent about $25 on the materials. I wanted a chalkboard that had a thin frame and looked like a vintage school chalkboard.
.
I stopped by Lowes and roamed the aisles to see what I could find that would work to easily create it. I found MDF boards cut to 2'x4' and strips of 4' long pieces of pine, so that's what I used.
.

.
Here are the materials I used:
.
:: 1 - MDF board from Lowes 2'x4' (1/2" thick)
:: 4 - strips of pine from Lowes 1.5"x4' (3/4" thick)
:: Minwax Early American stain
:: Rustoleum Chalk Board paint (black)
:: 2" trim nails
:: 2 sawtooth hangers
.


.
Steps:
.
1. Paint one side of the MDF board with two coats of chalk board paint. Choose the side that is the smoothest.
.
2. Cut two of the 4' strips of pine to fit against the smaller sides of the MDF board. The other two strips of pine will fit against the longer sides of the MDF.
.

3. Rub stain on the pine strips.
.
4. Fit the strips against the MDF and pre-drill holes (with a slightly smaller drill bit than the trim nails), then use the trim nails to attach the strips to the MDF board. You'll be able to see the trim nails, but they blend in well with the wood and I don't mind them showing. If you are intimidated by pre-drilling holes and using nails, you could try using Liquid Nails to attach the trim pieces, then clamp them together and let them dry.
.
5. Season the chalkboard by rubbing it with the edge of a piece of chalk. Then wipe it off with a cloth.
.


.
6. Attach the sawtooth hangers to the back of the chalkboard.
.

.

.

.
I love easy projects like this that create a big impact! I'm not comfortable using many power tools and this chalkboard really doesn't require much work to create. Let me know if you have any questions in the comments!
.
.

.


